Ingredients
Scale
Ice Cream Base
- 2 envelopes of unflavored gelatin
- 4 cups of whole milk
- 2 cups of sugar
- 2 teaspoons of vanilla extract
- 3 cups of premium cream
Fudge Layer
- Chocolate ganache
- Corn syrup (to keep the fudge soft when frozen)
Crunch Layer
- Whole Oreo cookies (cream center included)
- Melted butter
Decorations
- Whipped topping
- Optional: Piping tips like Wilton #21 or Ateco #844 for decoration
Instructions
Prep Time: 30 minutes
Cook Time: 10 minutes
Total Time: 6 hours (including freezing)
-
Prepare the Crunch Layer:
- Preheat oven to 350°F.
- Crush Oreo cookies with the cream center until pebbly in texture.
- Mix with melted butter and spread evenly on a baking sheet.
- Bake for 8 minutes, then let cool completely.
-
Make the Ice Cream Base:
- Soften ice cream by placing it in the refrigerator for 30 minutes.
- Stir until smooth and creamy. Use an electric mixer for a lighter texture.
- Ensure ice cream is at a temperature of -5°C (23°F) for the best results.
-
Create the Fudge Layer:
- Prepare a thin chocolate ganache using corn syrup.
- Allow the ganache to cool slightly but remain pourable.
-
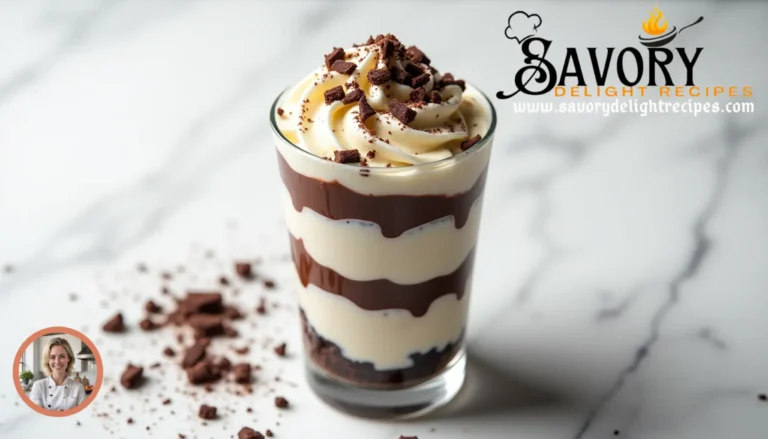
Assemble the Layers:
- Use a 3-inch deep container or pan to layer the dessert.
- Start with chocolate ice cream as the base layer.
- Add a layer of fudge sauce, then sprinkle the cookie crunch evenly.
- Add the vanilla ice cream layer on top.
- Freeze each layer for 10–20 minutes before adding the next.
- Once fully layered, freeze the dessert for 4–6 hours.
-
Decorate the Cake:
- Use a piping bag fitted with Wilton #21 or Ateco #844 tips to create swirls and borders with whipped topping.
- Optional: Add seasonal or festive designs.
-
Serve and Enjoy:
- Allow the cake to thaw for 30 minutes before serving.
- Optionally, top with additional cookie crumbs or a drizzle of chocolate sauce.
Notes
- Temperature Control: Proper freezing between layers is critical to prevent ice crystals from forming and maintain smooth consistency.
- Storage: Store the undecorated dessert for up to 1 week or decorated for up to 5 days in the freezer, in an airtight container.
- Variations: Add sprinkles, caramel drizzle, or fruit for personalized flavors.
- Prep Time: 30 minutes
- Cook Time: 10 minutes
- Category: Dessert
- Method: Layering and freezing
- Cuisine: American
- Diet: Vegetarian
